
Deploy webtuna.js to SharePoint using WSP
If you want to deploy the webtuna.js for SharePoint across the whole SharePoint Farm rather than modifying master pages for each Site Collection on each web frontend server then you can use the SharePoint Solution Packages below.
There are two steps to getting these setup, adding the package to a SharePoint farm (only needs to be done once) and then deploying it. The link below would give you the instructions to do this.
http://technet.microsoft.com/en-gb/library/cc262995(v=office.14).aspx
Download the WebTuna SharePoint Solution Package (WSP)
- SharePoint 2010 and 2013 (sp2010-2013.WebTuna.v1.0.wsp)
- SharePoint 2007 (sp2007.WebTuna.v1.0.wsp)
1) Adding the Package
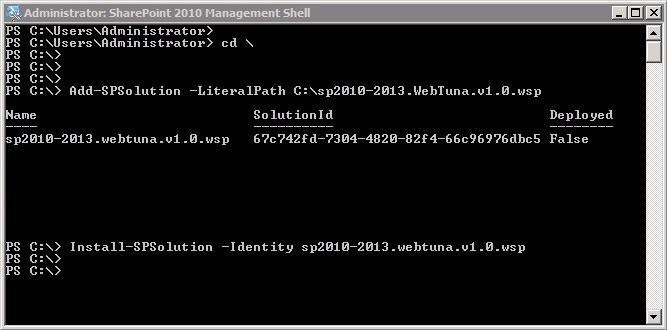
You need to use PowerShell to add the package.
Add the solution package using Windows PowerShell
Add-SPSolution -LiteralPath C:sp2010-2013.WebTuna.v1.0.wsp
2) Deploying the Package
This can be done via PowerShell or Central Administration.
To to deploy a solution package to all Web applications by using Windows PowerShell
Install-SPSolution -Identity sp2010-2013.WebTuna.v1.0.wsp
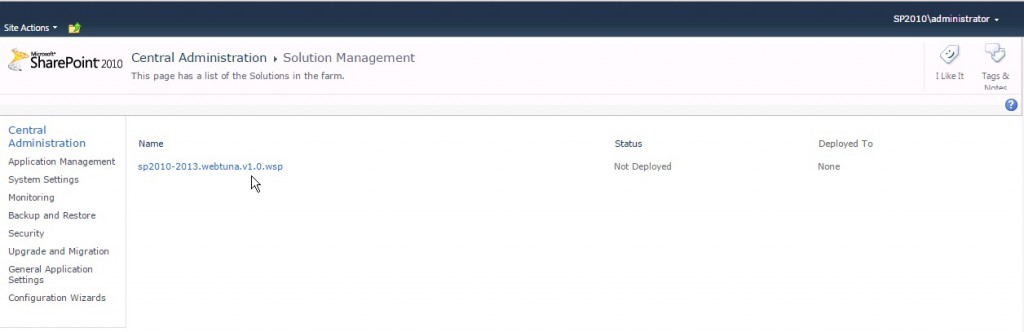
Or can be done through the Central Administration website.
- On the Central Administration Home page, click System Settings.
- In the Farm Management section, click Manage farm solutions.
- On the Solution Management page, click the solution that you want to deploy.
- On the Solution Properties page, click Deploy Solution.
- On the Deploy Solution page, in the Deploy When section, select one of the following:
- Now
- At a specified time. If you select this option, specify a time by using the date and time boxes. We recommend that you select a time when the load on the destination servers is low.
- In the Deploy To? section, in the A specific web application list, click either All web applications or select a specific Web application.
- Click OK.